our stair transformation
Since we are starting demo on our current stairs, I thought it would be fitting to look back at our stair remodel Tom did in our last house. We removed carpet, balusters, handrail and posts and replaced with white oak treads, white painted risers and metal railing.


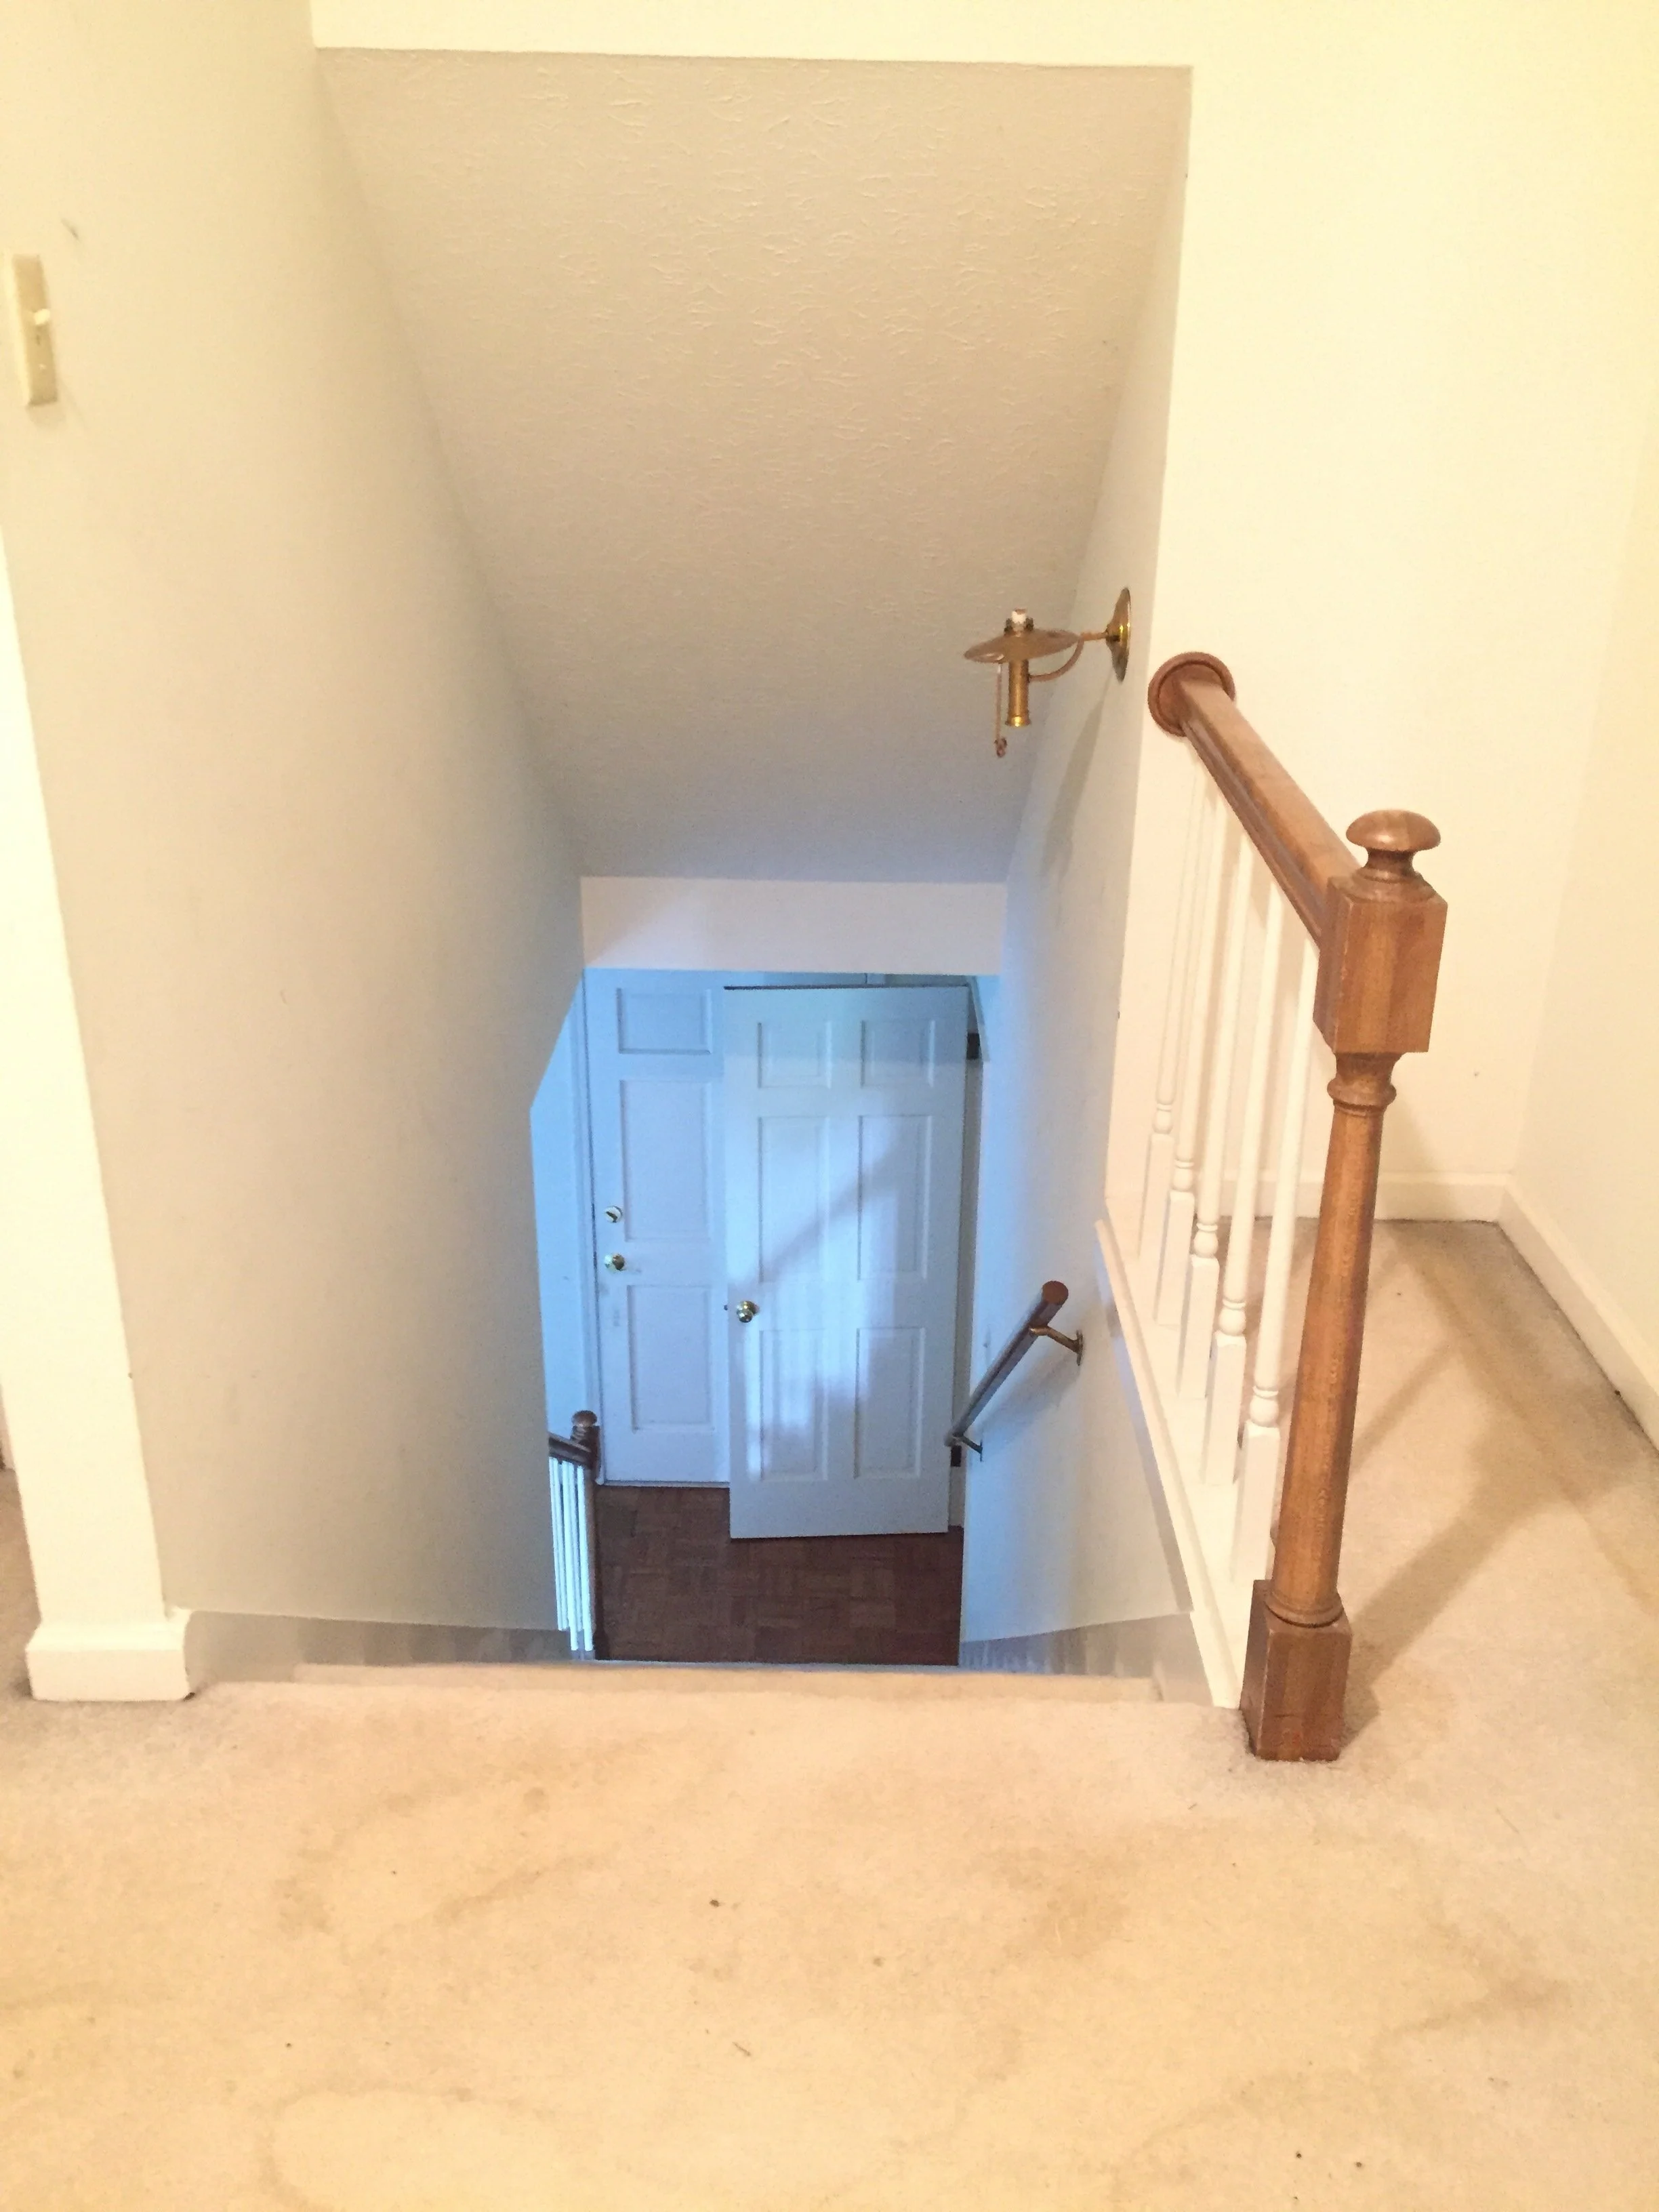
This is on day one and is how the staircase looked when we purchased the home. Carpet, white painted detailed balusters and stained newel posts and handrail.


Wow, iPhone photos sure have gotten better in five years and wow, my boys sure have grown in five years. Okay, let’s keep going before I start crying and watching all the videos to listen to their sweet little voices over and over.

We removed the drywall to add a closet under the stairs and open up the wall a bit more than it was before, exposing more of the stairs.
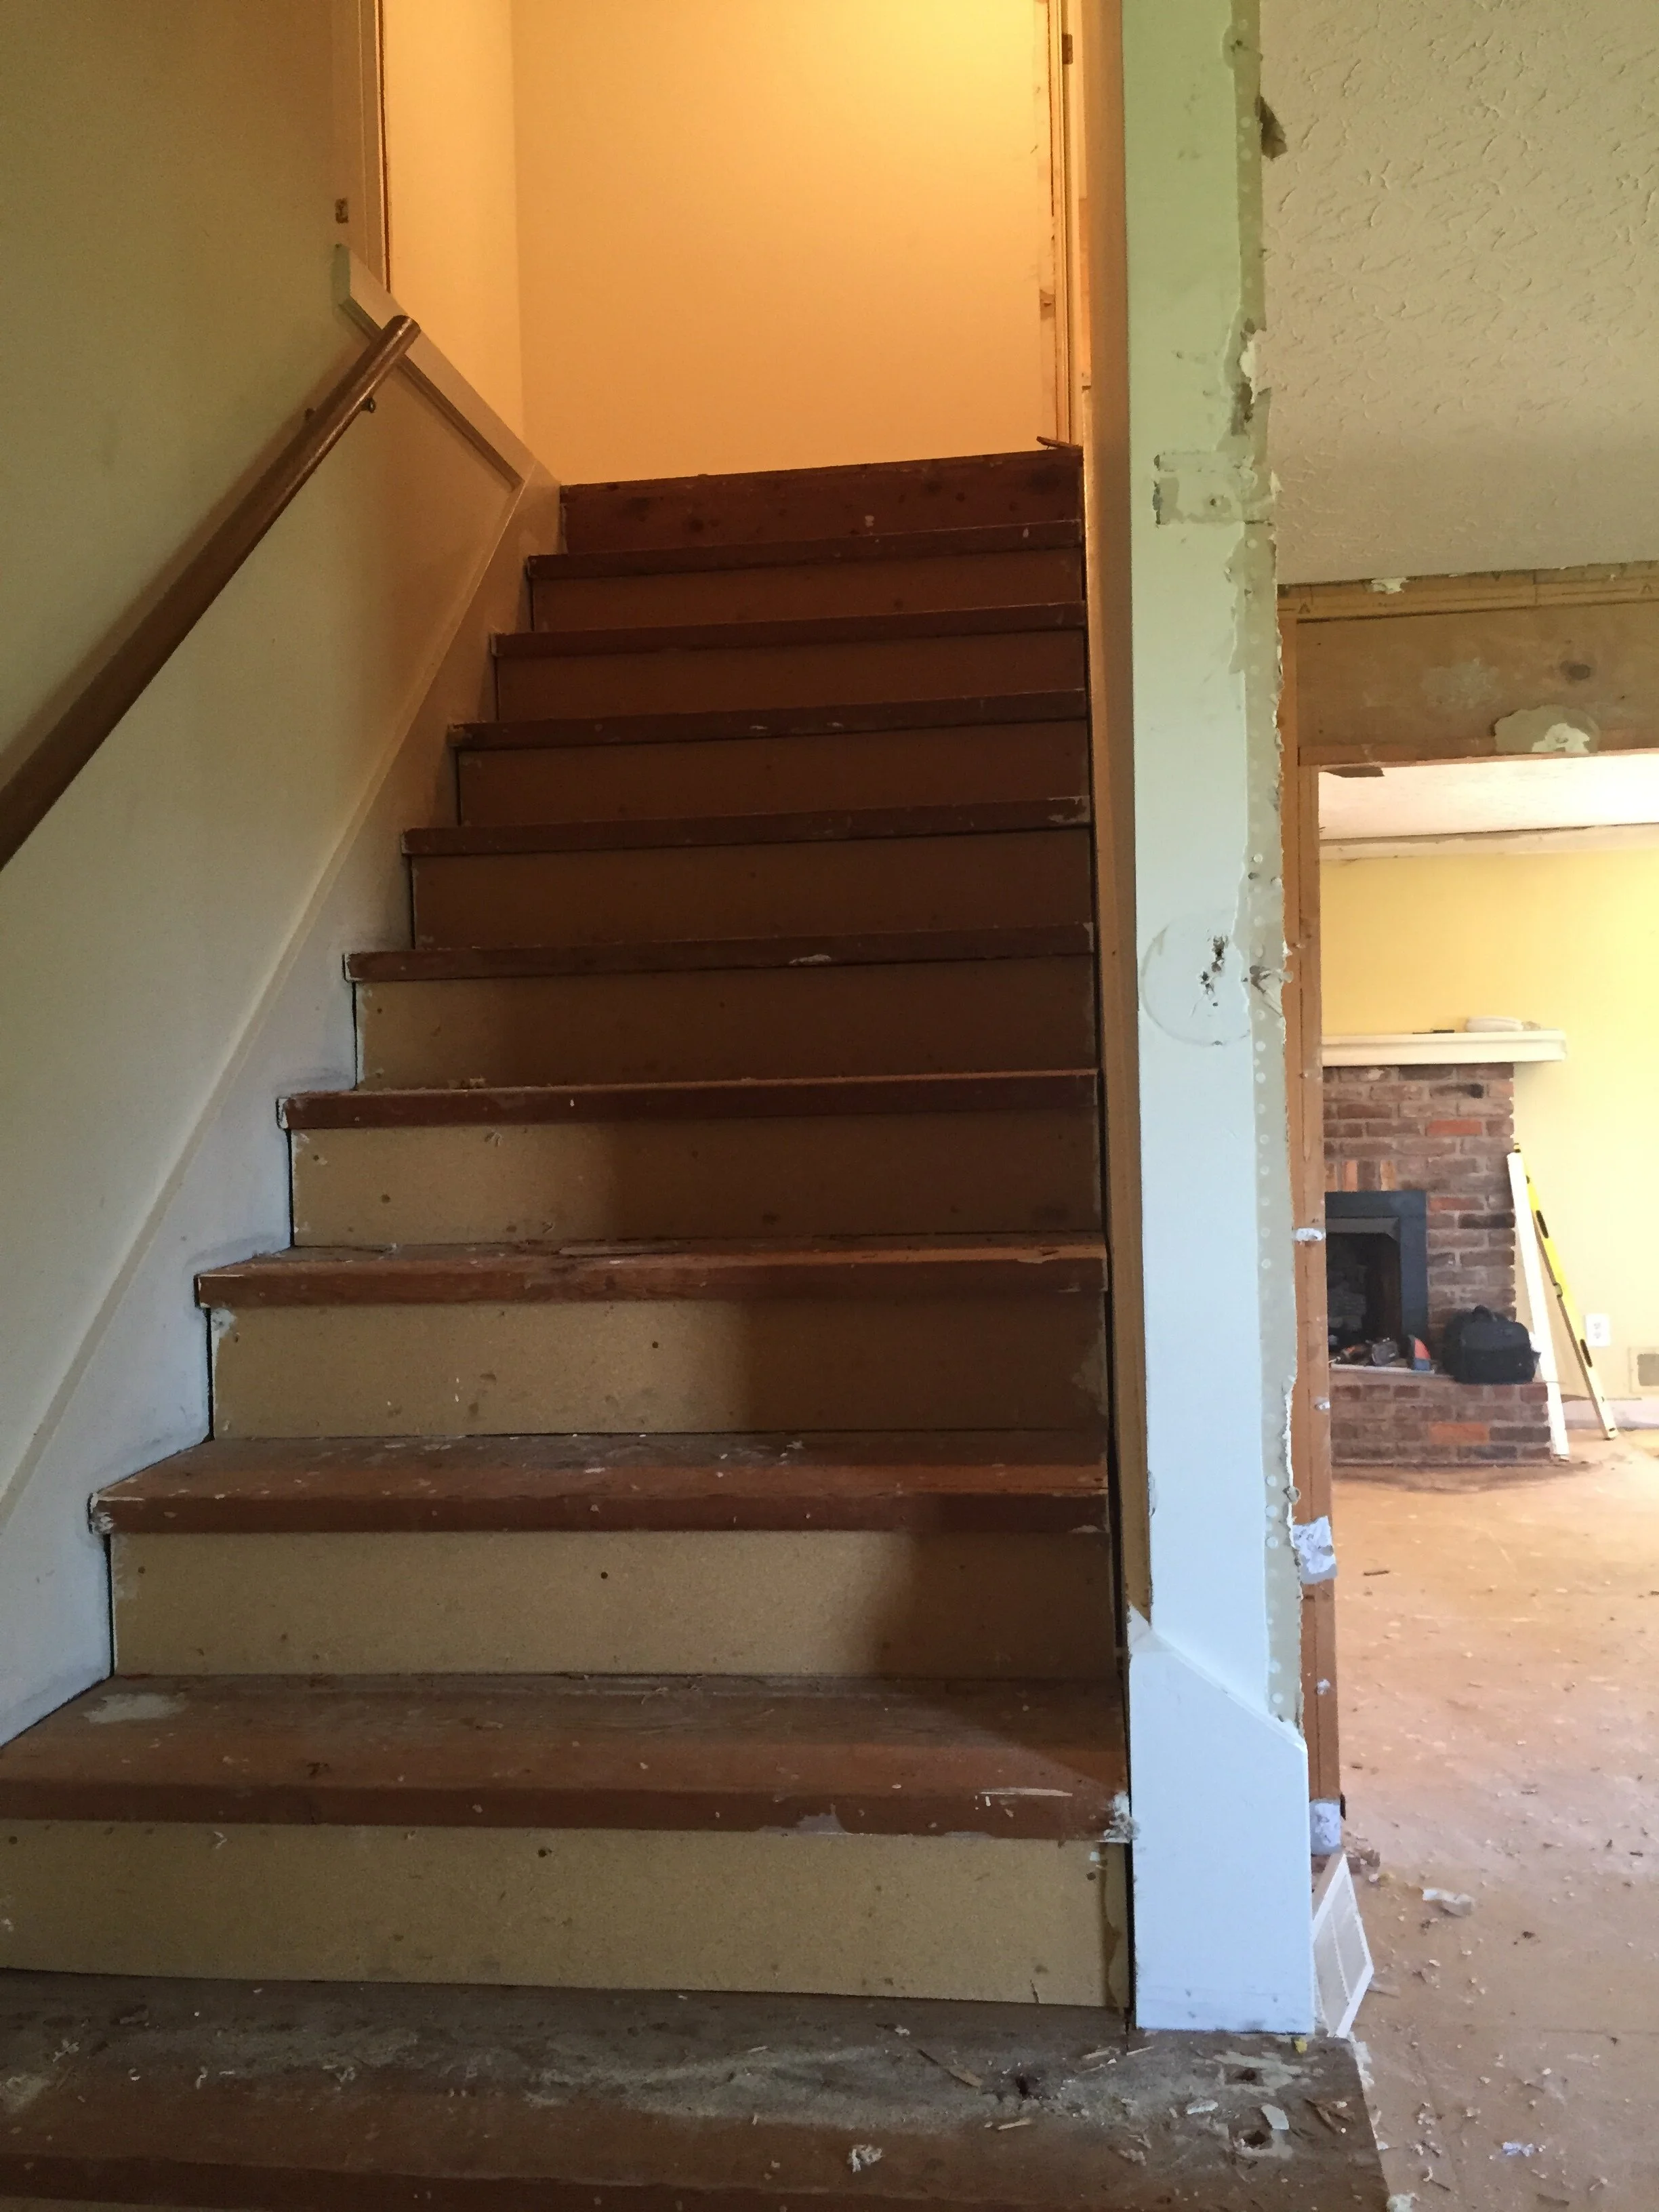
removed the carpet


After everything was removed, it was time for Tom’s favorite part, putting it all back. My favorite part is picking out what will go back ;)

The room upstairs on the left is Cline’s. We extended her closet (which was attic space) to include the area at the top of the stairs that had handrail and balusters before.

Tom started adding the shiplap on the walls next.

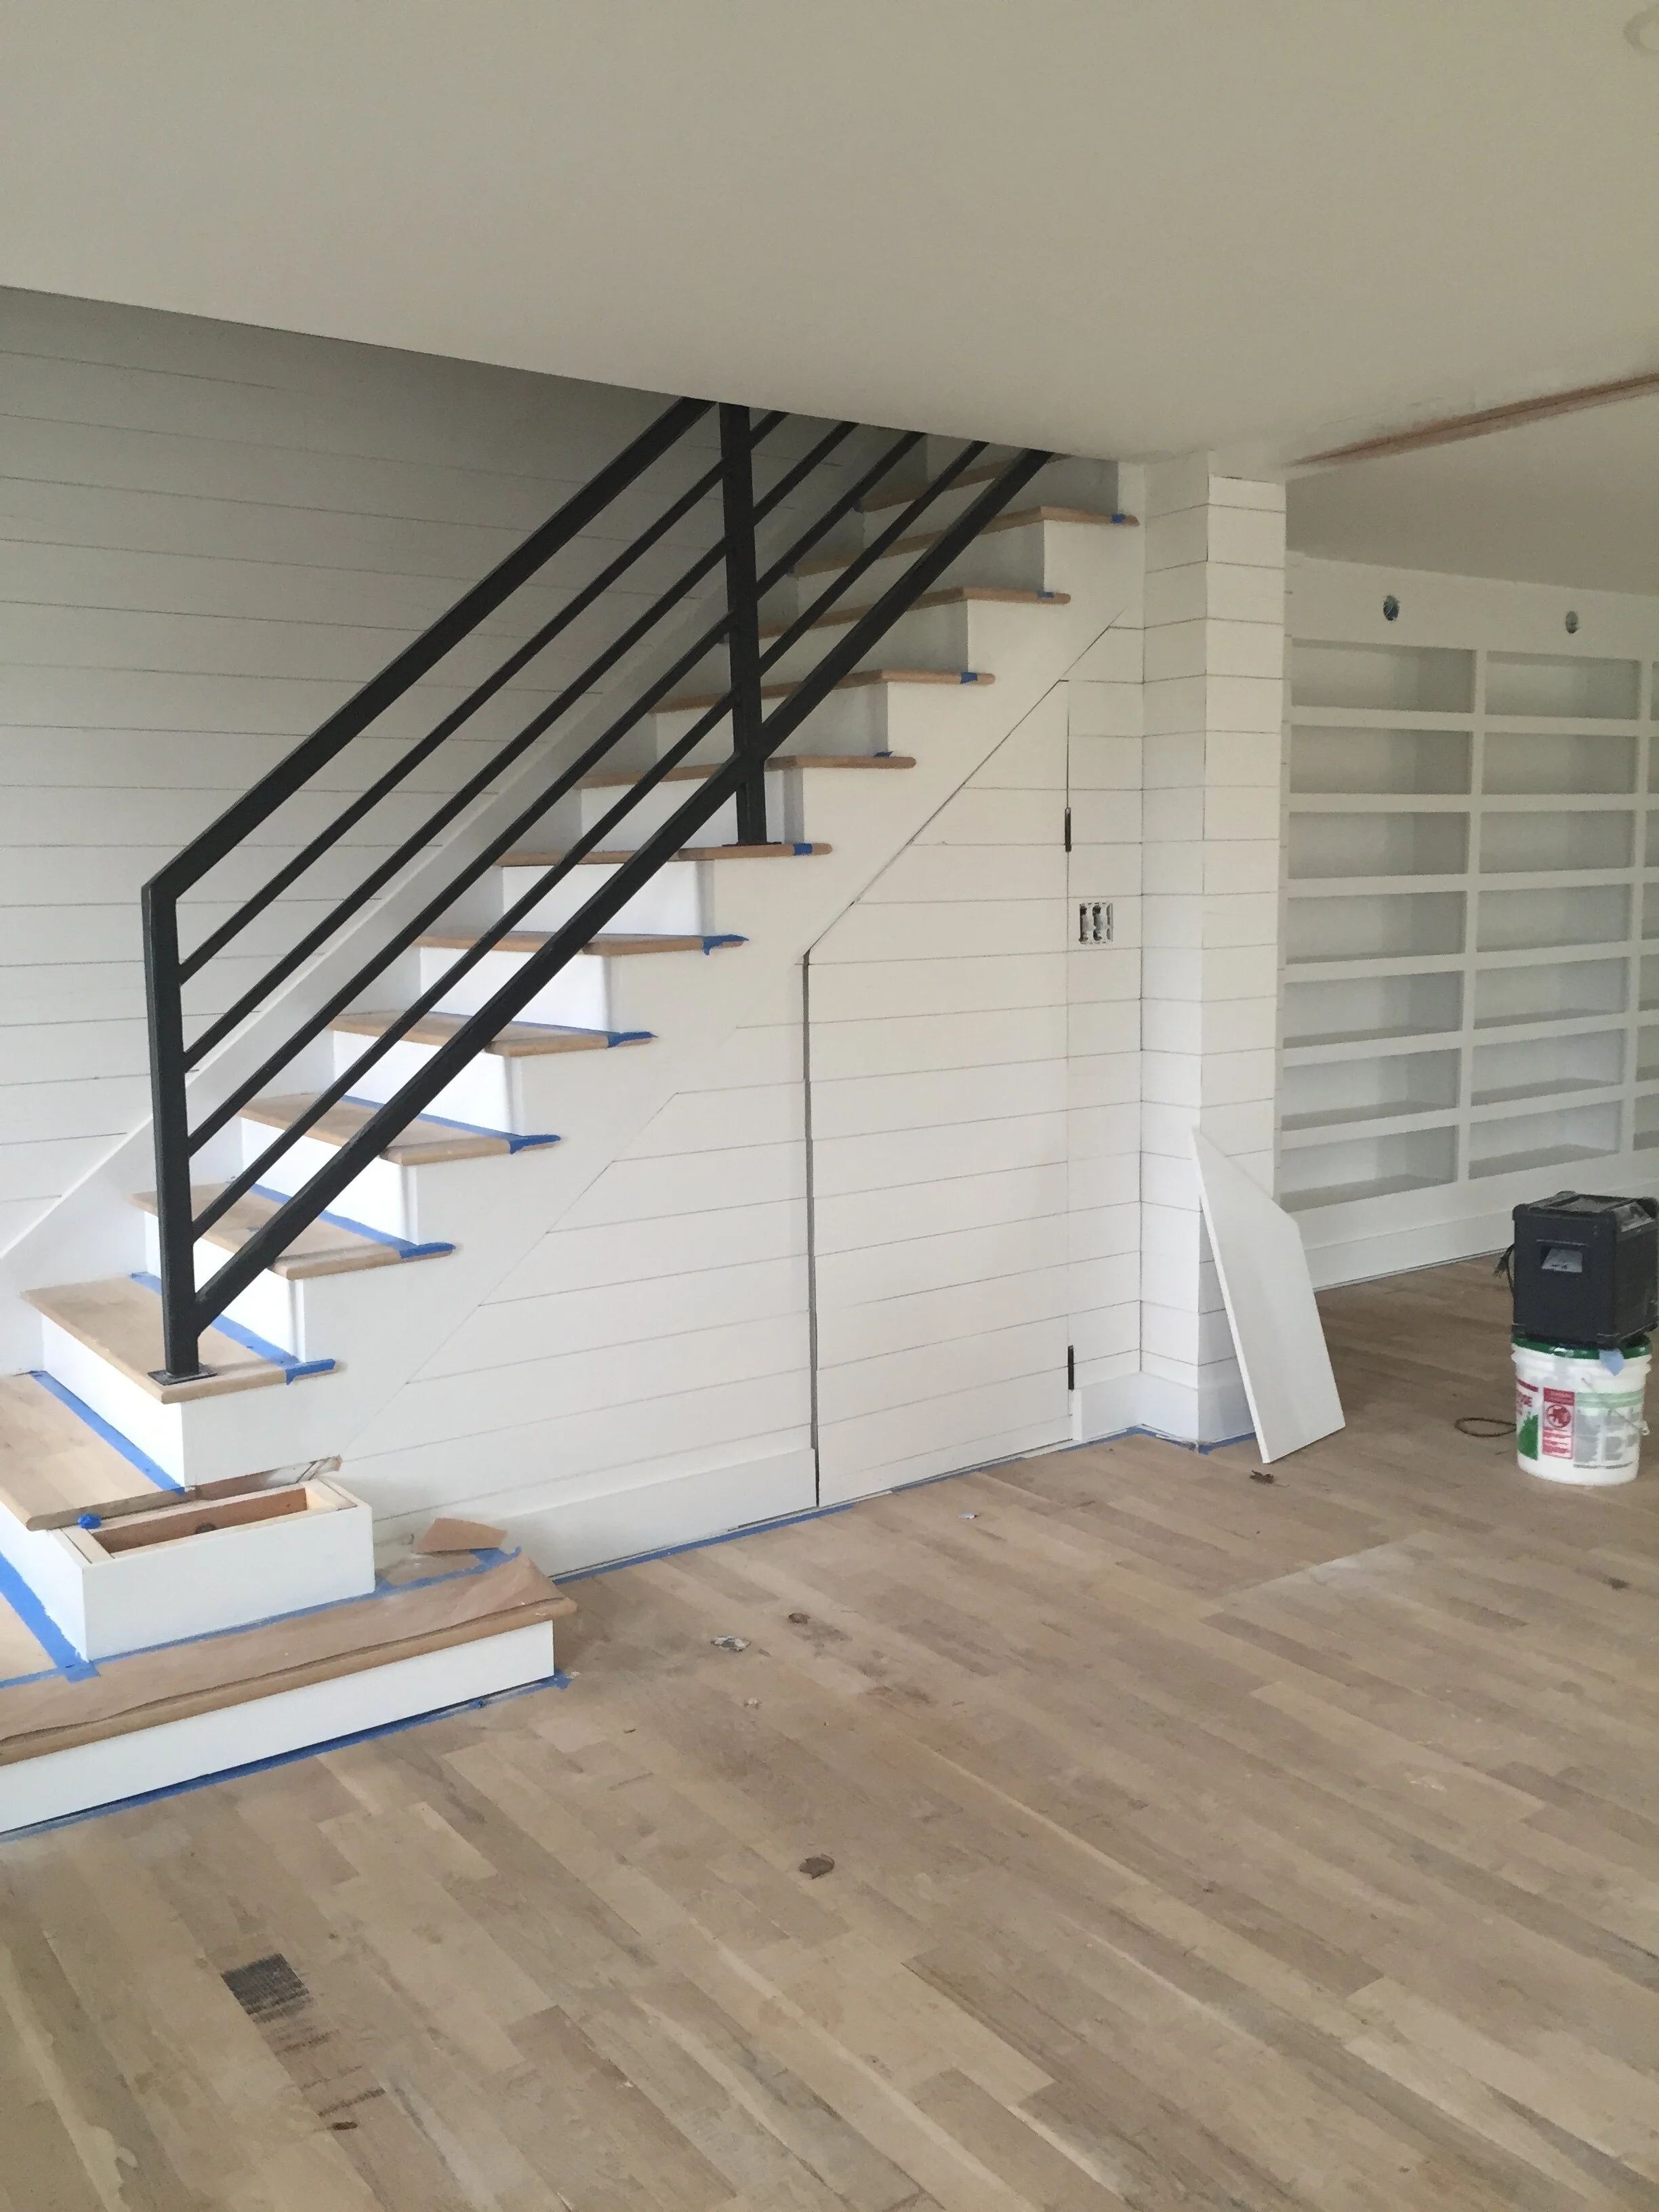
The shiplap was installed and primed on the wall going up the stairs. We decided not to do a handrail on that side. Tom built out the last two treads to turn. We wanted to give some visual interest here since the staircase is straight up as soon as you walk in the front door.

Here is a pulled back view of the progress including the built ins Tom built while simultaneously working all day. He doesn’t stop!


One of my favorite things is the storage we added anywhere we could in this house. Tom built this door under the stairs and boy did we use this space. It housed our printer, office supplies, audio visual (so the tv could go on the wall and not have a cable box visible, router and the kids homeschooling books. All things I do not want sitting out in my house so it was so nice to have a place to store them.

Treads and risers mostly in.

And the secret storage shiplap door that has been called a Harry Potter door a time or two.

Handrail installed

A before and progress shot so we remember how we started.

Another pulled back view of progress
And after a little cleaning


They’re finally ready for sanding and finishing at this point.

So Tom sanded and I finished with Rubio Monocoat super white.


We lived in this house 4 years and refinished since we initially used the Rubio Monocoat. The two photos above are after we refinished with water based poly and the photo below is the original finishing of Rubio Monocoat super white.

And then we finally moved in! I knew exactly the vision I had for this staircase but our current house has been much more of a challenge when it comes to making a final decision. There are so many different beautiful options and I had a much harder time deciding. We are starting demo though and we’re excited for the new to go up soon!